Use "Per Channel Contrast" for Impact in Photoshop!
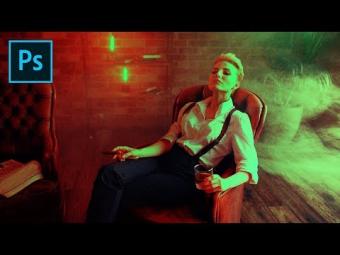
Create Impact with "Per Channel Contrast" Technique and Make Your Images Stand Out with Photoshop! Learn how to increase the contrast on each channel (Red, Green, and Blue) individually to create make the images pop.
In this tutorial, we will use the Curves Adjustment Layer to create dramatic contrast. We'll also learn how to add additional special effects to boost the details using filters like Adobe Camera Raw and Color Lookup Adjustment.
I hope this tutorial helps. Thank you for watching :)
► DOWNLOADS:
1. Sample Image: http://bit.ly/2u4IIHz
2. Finished PSD: http://bit.ly/2HrQZgx (Only for our Patreon Family)
► HELP US CREATE MORE FREE VIDEOS:
Support us at Patreon: https://www.patreon.com/piximperfect
► SHARE: https://goo.gl/IUhnUl
►LET'S CONNECT:
Facebook: http://facebook.com/piximperfect
Twitter: https://twitter.com/piximperfect
Instagram: https://www.instagram.com/piximperfect
Google+: https://plus.google.com/+UnmeshDinda
ÖNERİLEN YAZILAR


YORUMLAR