How To Make Videos with Motion Graphics Templates (MOGRTs) | Part 2
In this episode, I show you how to create Motion Graphics Templates directly from within Premiere Pro. Find timestamped chapters below. This video was recorded in Fall 2017 w/the CC 2018 version of Premiere Pro**
---
Jump to ANY point in the video with Chapters:
01:03 Preset Essential Graphics Templates (shipped in the app)
02:34 The Text Tool and starting an animated graphic
04:43 Choosing your font and using TypeKit fonts
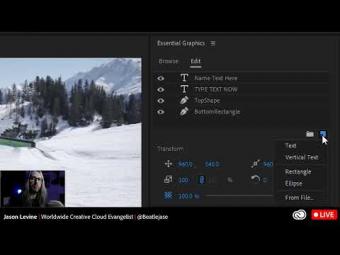
07:17 Adding a new layer to the graphics template and using the freeform pen tool
10:54 Adding motion/animation to static layers within the Effects Controls Panel
13:54 Adding blur effects (or any PPRO effect)
17:24 Setting a Master Style, by layer
18:21 Exporting as a Motion Graphics Template (MOGRT) win Premiere Pro
20:54 Reusing the Template from the Libraries Panel; modifying elements of the template
23:02 Upgrading to a Master Graphic
24:14 Modifying and pushing changes to a Master Text Style
27:30 Adding images and video into the MOGRT
29:49 Using Responsive Design - Position Pinning options
32:13 Using Responsive Design - Time options (with intro/outro durations preserved)
36:21 Essential Graphics Panel ‘preset’ templates (a sampling of a few)
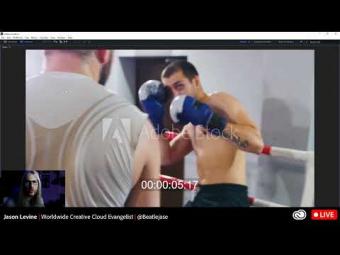
39:16 Searching Adobe Stock for Motion Graphics Templates
42:19 Resolving missing fonts from Typekit (now Adobe Fonts)
**several features have been added to the MOGRT creation workflow in Premiere Pro in the latest CC 2019 update (that weren't available when this was recorded). Stay tuned for an update video with the latest additions or visit the Premiere Pro Facebook page and look in the Videos tab for my recent livestreams on this topic.
---
Jump to ANY point in the video with Chapters:
01:03 Preset Essential Graphics Templates (shipped in the app)
02:34 The Text Tool and starting an animated graphic
04:43 Choosing your font and using TypeKit fonts
07:17 Adding a new layer to the graphics template and using the freeform pen tool
10:54 Adding motion/animation to static layers within the Effects Controls Panel
13:54 Adding blur effects (or any PPRO effect)
17:24 Setting a Master Style, by layer
18:21 Exporting as a Motion Graphics Template (MOGRT) win Premiere Pro
20:54 Reusing the Template from the Libraries Panel; modifying elements of the template
23:02 Upgrading to a Master Graphic
24:14 Modifying and pushing changes to a Master Text Style
27:30 Adding images and video into the MOGRT
29:49 Using Responsive Design - Position Pinning options
32:13 Using Responsive Design - Time options (with intro/outro durations preserved)
36:21 Essential Graphics Panel ‘preset’ templates (a sampling of a few)
39:16 Searching Adobe Stock for Motion Graphics Templates
42:19 Resolving missing fonts from Typekit (now Adobe Fonts)
**several features have been added to the MOGRT creation workflow in Premiere Pro in the latest CC 2019 update (that weren't available when this was recorded). Stay tuned for an update video with the latest additions or visit the Premiere Pro Facebook page and look in the Videos tab for my recent livestreams on this topic.
ÖNERİLEN YAZILAR


YORUMLAR