How to Make Great Videos with COLOR | Part 1
In the first part of this three-episode series on color workflows, I'll give you an introduction to the Lumetri Color Panel* and references the similarities to Lightroom's develop module. Basic (tonal) Corrections, Creative LUTs, Curves and Vignette panels are covered in this episode. This video references CC 2018; see asterisk below for details...
Timestamped chapters below.
---
01:05 ‘Export Frame’ from the Program Monitor to a CC Folder for Lightroom CC
03:19 Editing an image in Lightroom CC (with similar panels that you’ll find in Lumetri in Premiere)
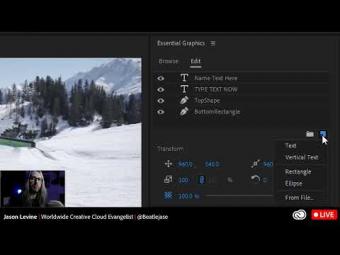
04:12 Revealing the Lumetri Color Panel (via Workspaces and Window Menu)
04:43 The familiar controls of the Basic Corrections tab
06:18 Back in LR making some adjustments on a still frame
09:00 The White Balance eye-dropper
10:24 Adjusting the re-imagined Exposure control, contrast
11:36 Adjusting highlights and revealing more shadow details
13:12 Using the native Vignette to add drama (in lieu of DeHaze)
14:02 Leveraging ‘Uninterrupted Playback’ by turning on/off modules of Lumetri while you grade
14:59 Vibrance, Faded Film and additional Saturation in the Creative tab
21:28 Using Creative LUTs/Looks to change color style
23:14 Film Stock emulations in the Creative looks
24:00 The Intensity slider for using Looks on your footage
28:12 Faded film, Vibrance, Sharpen and additional (post-Look) Saturation
32:06 Shadow Tint and Highlight Tint (as part of the Creative tab)
38:50 Copy/Paste Attributes (i.e., Lumetri Color settings) across one or multiple clips
40:44 Utilizing Shadow Tint and Hightlight Tint
43:07 Reasons/benefits for shooting ‘flat’ video…
46:29 32-bit Color Effects + RGB Curves
52:59 Hue Saturation Curves
*this video was recorded with Premiere Pro CC 2018; workflows are still relevant in CC 2019 (though there are some new features not covered here). Check out the follow-up video with CC 2019 specific color workflow changes.


YORUMLAR