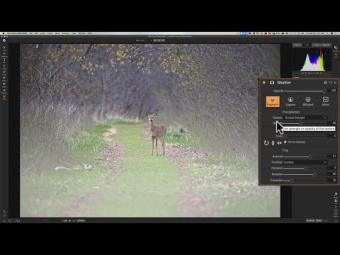
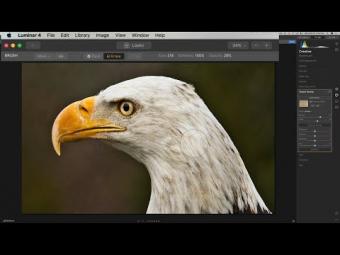
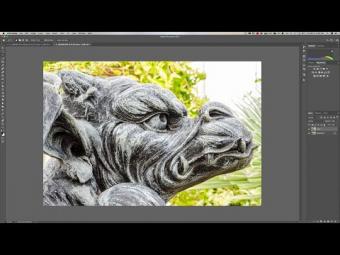
How To Apply your WATERMARK using LUMINAR 4
By request, in this video I'm demonstrating how to apply your watermark using Luminar 4. Luminar doesn't have a dedicated method to apply watermarks but as you'll see in this video, it's not too difficult.
In the video, I mentioned a sale was happening on Luminar 4 -- click below to see if that sale is still going on:
http://bit.ly/2OSWpnA
Enter my Promo Code: AM16 to save even more off of the sale.
If you're not ready to purchase Luminar 4 now, try it for free:
http://bit.ly/2JUJxKw
At the top of the page, hover over the word "Luminar" - a menu should open and you can download the trial version from there. It is a fully working trial that expires in 15 days.
If you decide to purchase Luminar 4, use my Promo Code:
AM16
to save yourself a few bucks.
Gear & Settings Info:
Image of Niagara Falls:
Fujifilm X-T3: https://amzn.to/2YNhYso
Fujifilm 18-135mm Lens: https://amzn.to/37tyHVO
Aperture Priority Mode
Spot Metering Mode - Metered on my hand
Single Point Focus Mode - Focused in middle of falls
Auto-white balance
1/240, F11, iso: 200 at 29.3mm
Second Image
Nikon D850: https://amzn.to/2K498SZ
Nikon 70-200mm F2.8 VRii Lens: https://amzn.to/2WG1p5f
Studio Shot - Manual Mode
1/200, F11, iso: 64 at 200mm
My Recommended Gear List:
https://www.amazon.com/shop/anthonymorganti
I use this software to record my screen:
Screenflow: https://telestream.pxf.io/DMrW2
Unsure of how to price your photography? Check the 2019 Guide to Pricing Your Photography:
https://amzn.to/2S1CiU7
All links above are my affiliate links. Please read my code of ethics statement for more info about my affiliations:
https://onlinephotographytraining.com/code-of-ethics/
THANK YOU for watching!
ÖNERİLEN YAZILAR


YORUMLAR