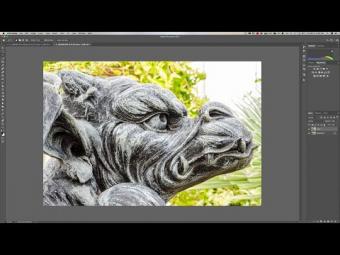
5 Different Ways to do Before/After in Lightroom
In this video I demonstrate 5-different ways you can do a Before/After in Lightroom. In my opinion, two of the ways are common, the others, not so much.
Please follow me on Instagram:
https://www.instagram.com/anthonymorganti/
Gear and settings used to capture the image in the video:
Nikon D800e: https://amzn.to/2EBZjYI
Nikon 14-24mm F2.8 Lens: https://amzn.to/2ZXR55C
Vanguard Tripod: https://amzn.to/2WqWB2u
Siriu Ballhead: https://amzn.to/2W1MyS0
Sony 120GB XQD Card: https://amzn.to/2HlfR8Y
Sony XQD/SD Card Reader: https://amzn.to/2NBuSHB
Aperture Priority Mode⠀
Auto-white Balance⠀⠀
Spot Metering - Metered on my hand⠀⠀
Single Point Focus - Focused approximately 1/3 up from the bottom⠀⠀
1/250, F8.0, iso 100 at 14mm⠀
Checkout my Recommended Gear List:
https://www.amazon.com/shop/anthonymorganti
If you're interested in Photoshop, Lightroom, Adobe Stock, and the Creative Cloud, you can find more info here:
http://bit.ly/2zwQ0nW
I use this software to record my screen:
https://telestream.pxf.io/DMrW2
Unsure of how to price your photography? Check the 2019 Guide to Pricing Your Photography:
https://amzn.to/2S1CiU7
All links above are my affiliate links. Please read my code of ethics statement for more info about my affiliations:
https://onlinephotographytraining.com/code-of-ethics/
THANK YOU for watching!
ÖNERİLEN YAZILAR


YORUMLAR